
Turns out pickling doesn’t have to be a lengthy, tedious process, so read on pickle lovers!
I’ve recently discovered quick pickling and if you are following me on social media, you’ve likely noticed I’ve been doing a lot of it. Personally, I’ve been an on and off pickle lover all my life, from sour pickled mushrooms and gherkins, salt brine pickled olives and capers, to oil pickled dried tomatoes, I like them all. However, as a city person I’ve always thought of pickling as a lengthy, intimidating process that most people don’t bother doing at home unless they grow their own vegetables and need to preserve the excess.
Turns out that there’s such a thing as quick pickling, which opened up new culinary horizons for me, so now I want to properly share it with you. There’s actually not that much difference in the final product of regular pickling and quick pickling, except for its shelf-life and the duration of the procedure. Regular pickling is meant to produce the normal kind of pickled product that can be safely kept in the basement or a cupboard until opened and will last for years if done properly, while any quick pickling products must be kept in the fridge and used within a few weeks.

Any kind of pickling is a useful and ancient food preservation process, which can be roughly divided into preserving food in vinegar (sour) brine, normally known as pickling, and preserving food in anaerobic conditions, which encourage the growth of desirable lactic acid bacteria, otherwise known as fermenting. I’m also dabbling in fermenting at the moment, so that blog post is coming too, but back to regular pickling: in order to ensure that your jar of pickled vegetables or jam will not spoil over time due to the growth of bad microorganisms, you need to sterilise everything as much as possible, which is a rather tedious process.
First you need to sterilise your pickling jars by boiling them or placing them in the oven, then you usually need to heat process (cook) the fruit/vegetables in the pickling brine a bit, either in or outside the jars, and then you usually need to finish of by water bath canning the jars to make sure they’re securely closed (that’s also why regular pickling is often called canning). Sounds like a project, right?
Well, quick pickling literally takes 10 minutes and really is quick. Because your final quick pickled product is meant to be consumed within a few weeks and will be kept in the fridge at all times, it has less chance of spoiling, so you get to skip a few steps.
Quick pickling
All you need to do for quick pickling is the following:
- start with a clean, but not necessarily freshly boiled, jar (I recommend glass – it’s easy to clean, resistant to heat and reusable)
- fill it with your chosen vegetables, herbs and spices
- heat up and boil your vinegar brine (made of water, vinegar, salt and sugar in desired ratios, personally I avoid putting the spices into the brine when heating)
- pour the brine over the vegetables while it’s still very hot
- close the jar (they will usually close quite tight, which is a good sign)
- leave the jar to cool down, store it in the fridge for at least 2-3 days and it’s ready to eat
Simple, huh? You can even eat it sooner if you don’t mind a fresher, less pickled taste, but it must be kept in the fridge and will only last up to about a month, depending on the ingredients. Vinegar or high salt content are usually used in pickling to inhibit any microorganism growth, but since your quick pickles will be kept in the fridge, you can experiment with less sour brines and pretty much do whatever you want, but I recommend sticking to at least mildly acidic mixtures for safety (bad bacteria generally don’t like acidic environment).
You don’t need any fancy equipment for quick pickling and so far I’ve never bought a pickling or fermentation jar either. I use and reuse glass jars from farm yoghurt and store-bought pickles, which can be cleaned out and sterilised nicely. Below are a few examples of what I’ve tried so far, with approximate brine mixtures as a reference for your own experiments, but you can read more about quick pickling from the experts here.
P.S.: Obviously quick pickling only make sense when you’re looking to try new pickling combinations and want to eat the pickles right away, not when you’re trying to safely store a large amount of vegetables for later months, so keep that in mind. 🙂 Also remember the golden rule of preserving food: never pickle or ferment anything past its prime. If it’s going soft and has seen better days it’s better used in soups or something cooked.
#1: Quick pickled carrots


I never would’ve guessed, but carrots become these incredibly exotic vegetables when pickled in apple cider vinegar, so if you end up trying out only one of these, then it should definitely be the carrots. They were also the first quick pickled thing I tried and they turned out amazing, so we’re already at the end of our second batch, which I had to make in a bigger jar. 🙂
They turn out better when cut into sticks, but every vegetable has its own optimal pickling shape and size, so it’s up to you to find it. I used turmeric, coriander seeds, mustard seeds, fresh ginger, garlic cloves and lots of thyme for these and the combination is so good I didn’t experiment with anything else yet. For the brine I used a tablespoon of sugar, half a tablespoon of salt, water and apple cider vinegar. From what I’ve tried so far, it seems that anything between a 1:1 or 1:3 vinegar to water ratio will give good results, depending on how sour you like your pickles. In quick pickling you’re also not limited to white alcoholic pickling vinegar, because it doesn’t need to be strong enough to properly preserve the vegetables, so experiment away. Personally I love apple cider vinegar for my pickles and I like the carrots a bit more sour, so the 1:1 water ratio was better in this case. Loosely based on this recipe.
#2: Quick pickled radishes

Next up were pickled radishes. I haven’t managed to figure out how to stop them from bleeding out colour yet, but they taste good, which is all that matters. I kept them relatively natural, so I only added a bit of black pepper, garlic, thyme and coriander seeds. I also used apple cider vinegar here with a bit of salt and no sugar. For these the 1:1 ratio was a bit strong, so I’d recommend adding 1:2 or 1:3 vinegar to water ratio here. Based on this recipe.
#3: Quick pickled root celery
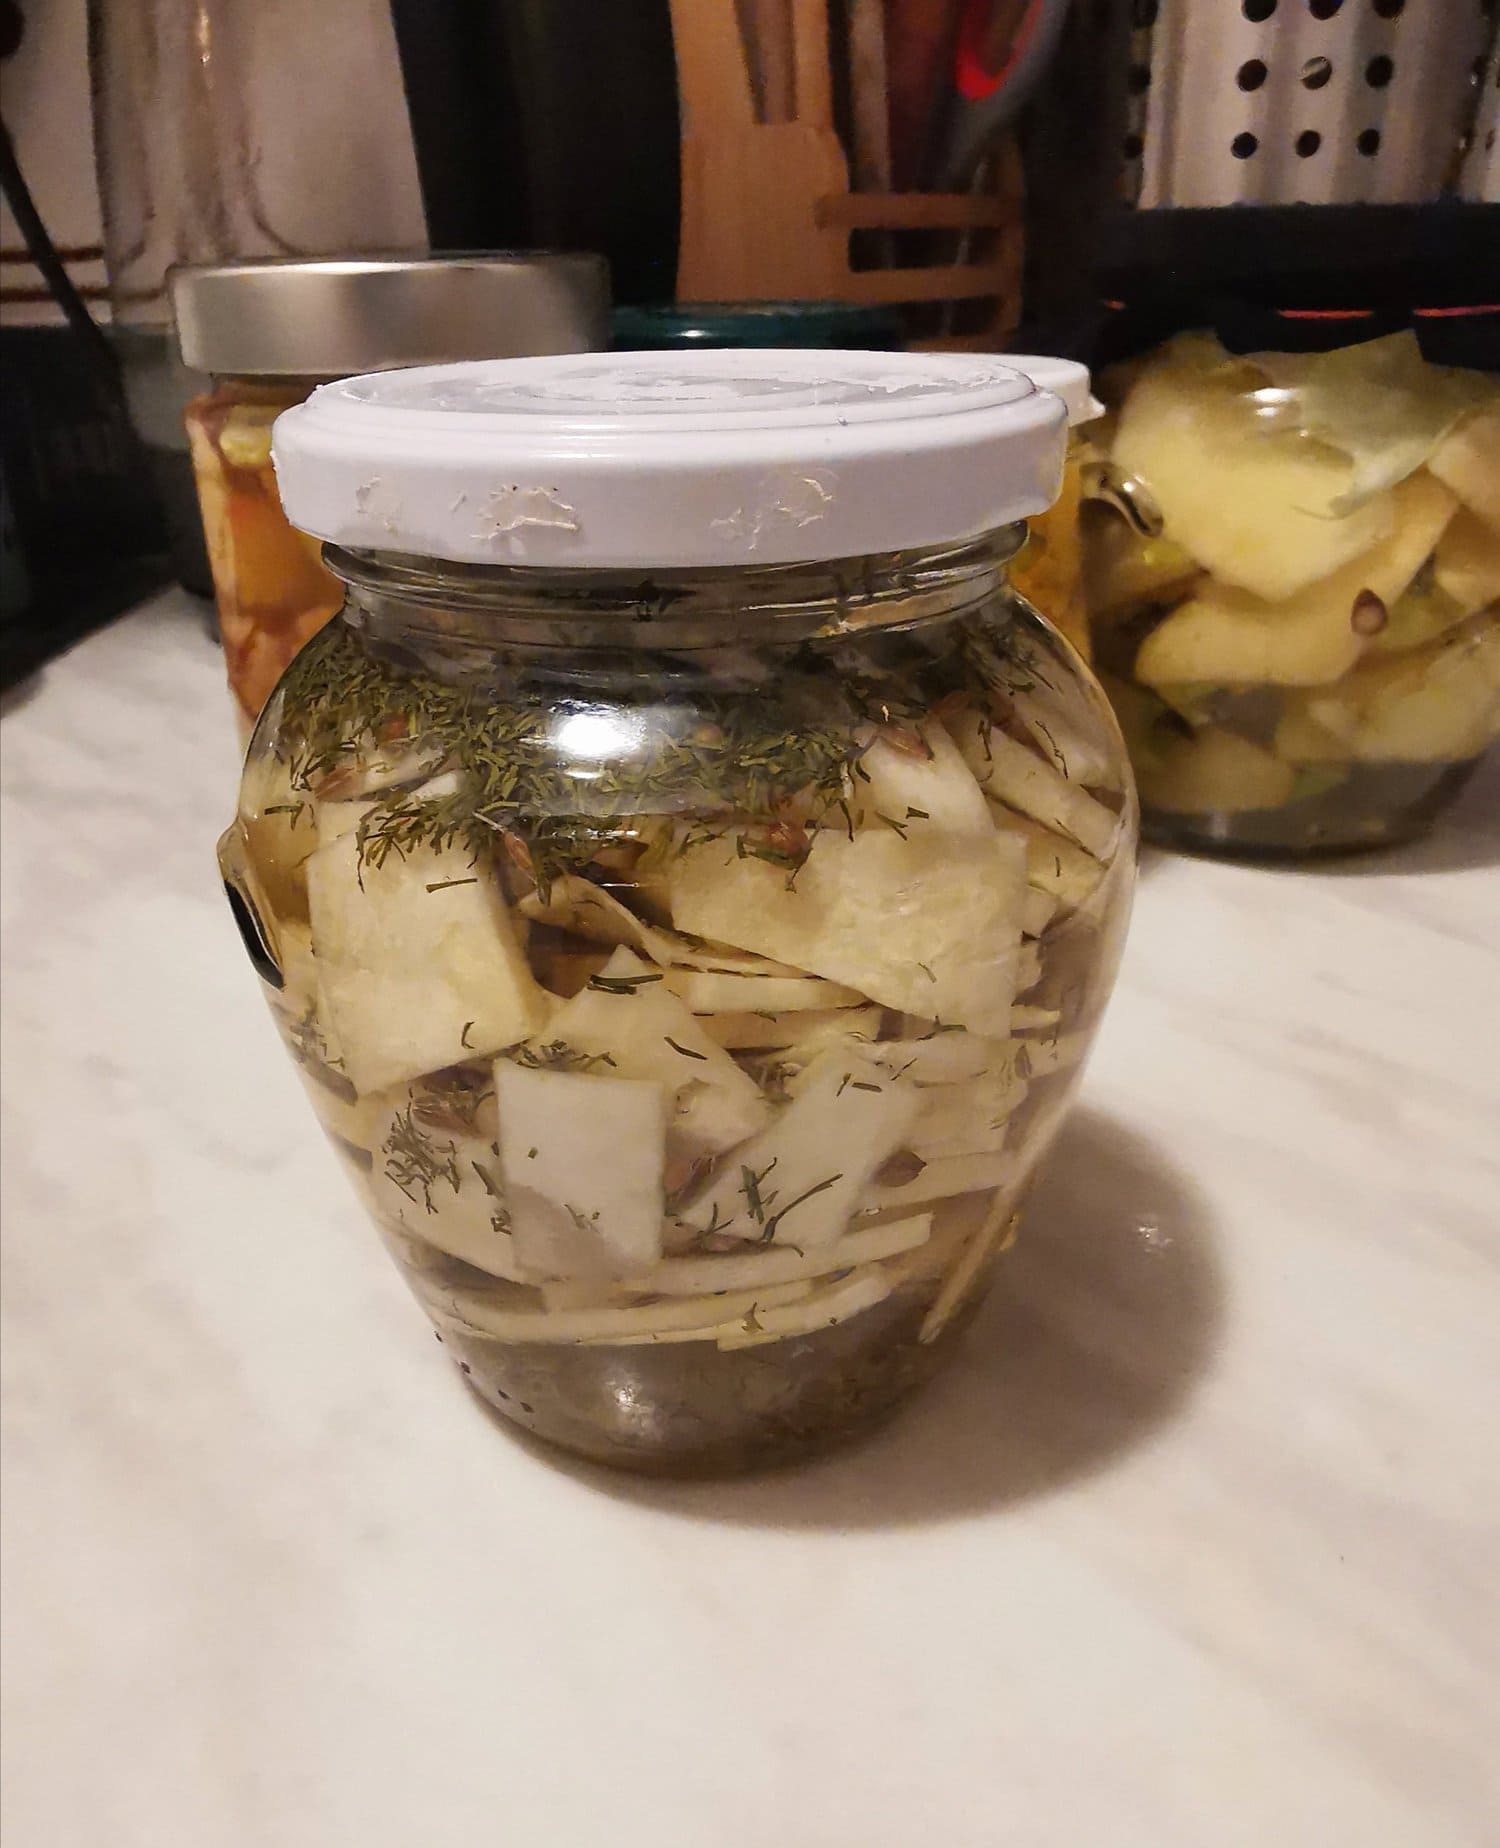
I recently also tried pickling root celery. I diced it into very thin pieces, added dill, garlic cloves, coriander seeds and cumin and used the regular apple cider brine again (1:1 vinegar to water, half a tablespoon of sugar and salt). It’s certainly not your usual pickled taste, but I think it turned out quite good. It goes to show that you can quick pickle pretty much anything. 🙂
#4: Quick pickled onions in balsamic vinegar


Then we’re on to more exotic brines, starting with onions pickled in balsamic vinegar brine. As you probably know balsamic vinegar is quite sweet, so you need to pair it with a more acidic vinegar for the brine. I based my onions on this Slovenian recipe, which originally calls for red onions. Since I didn’t have them the first time, I used regular yellow onions, thinly sliced in pretty rounds, and added peppercorns and mustard seeds according to the recipe (a spoonful each). The brine is a bit different, as it needs more sugar and the whole recipe was pretty much a math assignment, because I wasn’t using a kilogram of onions. I also tried it with red onions and both works. 🙂
If you’ve ever read any of my cooking blog posts you’ll know I cook by feel and my pickling is no different, so I didn’t really stick to the original recipe. I used 2 parts red wine vinegar, 1 part balsamic vinegar and 1 part water with 3 tablespoons of sugar and a spoon of salt for the brine and my quick pickled onions turned out very nice, so don’t be afraid to go off-road with these.
#5: Quick pickled spring onions and celery in honey brine

Now this one is a truly exotic brine and I’ll be honest with you, it didn’t work for me. Some recipes I saw online recommended using honey instead of sugar and a lot of it, for a sour honey brine. I figured I’d try it in small batches with celery and spring onions (that’s what I had at home at the time and the choice was not good). I tried to keep it more classic pickle style, so I added dill and black peppercorns. I used 1 part honey, 2 parts vinegar and 1 part water with some salt. The result was actually not super acidic, but rather disgustingly honey-flavoured, so I wouldn’t recommend it. The spring onions were reasonably passable, kind of sweet and sour, but the celery was downright gross. To be fair, I used forest honey with a stronger taste, so perhaps a milder flower honey would work with cucumbers or onions, but still – a hard NO.
#6: Quick pickled garlic in soy sauce

And even more exotic, this one is Asian inspired, based on this recipe. It calls for about 1:1 ratio of water and soy sauce, with 1/4 part of rice vinegar (I used apple cider vinegar, because I didn’t have it) and sugar. I added somewhat less sugar and didn’t have gochugaru (I’m not even sure what that is), but it still worked really well and tastes amazing. I would recommend that you boil the garlic a bit first and I’ll do so next time, because fresh garlic is quite strong despite the pickling. Do check out the original recipe and remember to not add extra salt, because the soy sauce is plenty salty.
#7: Quick pickled zucchini in oil-vinegar brine

This one was also made almost according to this recipe, but I decided to add olive oil to the brine at the last moment. I used thinly sliced zucchini, coriander seeds, mustard seeds, dill, garlic, yellow onion, turmeric, chilli peppers and olive oil, which I added last, after the brine (you can’t boil the oil, because it will make it taste funny). For the brine I used 1:1 ratio of apple cider vinegar to water, leaving space for about 0.5 part olive oil at the end. I also added a spoon of salt, but no sugar.
As you probably know, oil is another useful medium for preserving food, but unfortunately it’s not the best for refrigerated quick pickles. The taste turns out awesome and there’s no fear of contamination or anything, but oil tends to become thicker and more viscous at lower temperatures. It almost looks like a frozen paste and you need to take your pickles out of the fridge about half an hour before eating if you don’t want that yucky feeling on your food, which is a bit inconvenient. It’s probably possible to keep your oil-pickled products out of the fridge without risk of spoiling, but I haven’t tried it yet and I wouldn’t feel comfortable doing it without properly sterilising my jars.
#8: Quick pickled cheese in olive oil

Nonetheless, I also made an oil-based quick pickle, because I couldn’t resist pickling cheese as a cheese lover. I pickled my regular, cheap yellow cheese in olive oil with garlic cloves and rosemary and I can honestly tell you that it increased its value tenfold. My regular yellow cheese became a fancy, flavourful cheese lord and the oil-pickled garlic cloves were absolutely delicious (the rosemary turned a bit black, but apparently that’s nothing to worry about). I’m planning to pickle the garlic in oil separately in the future and try out different cheeses with oil-vinegar brines for sure.
This bring us to the conclusion of this post and I guess if you’ve made it this far, you must be a pickle lover like me. Hopefully this gave you some inspiration to start pickling your own creations on top of the usual store-bought pickled gherkins, but you can also check out my Pinterest board where I’m collecting pickling and fermentation inspiration for my future pickles.
Let me know if the comments if you try something out. 🙂 If you do, you’ll likely end up with plenty of leftover pickle brine, so here are some useful ideas on what to do with it (don’t toss it out!), as well as with the rest of your pickling food scraps. And, since we were speaking of pickled cheese, here’s a video:

Share your thoughts with me